If adding the favicon code to the header.php file using the WordPress editor does not work, you can manually add the code to the header.php file from the server. This requires a little knowledge of servers, SSH, and the vi editor.
Here are the steps to manually add the favicon code to the header.php file from the server:
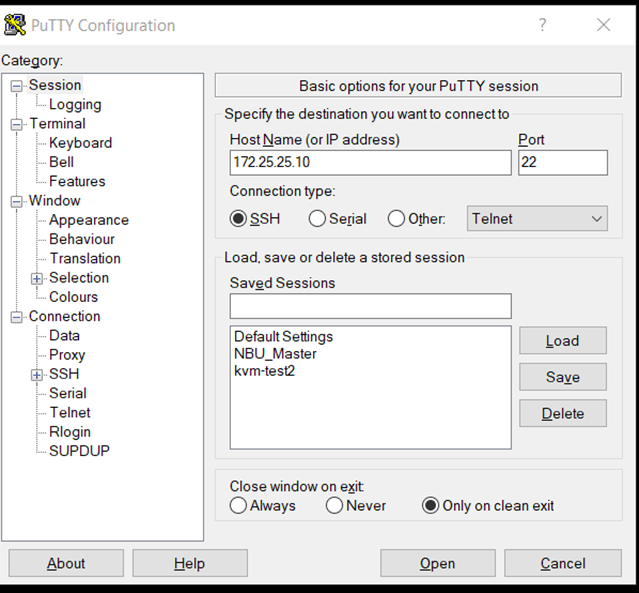
- Connect to your server using SSH: Log in to your server using SSH. You can use a terminal application, such as Terminal on macOS or Linux, or PuTTY on Windows, to connect to your server.

- Navigate to the header.php file: Use the cd command to navigate to the directory where your WordPress files are located. Then, use the vi command to open the header.php file:

Replace “/path/to/your/wordpress/files” with the actual path to your WordPress files on your server. Replace “your-theme” with the name of your WordPress theme.
- Add the favicon code: Use the arrow keys to navigate to the <head> tag in the header.php file. Press the i key to enter insert mode. Then, add the following code between the <head> and </head> tags:
<link rel=”shortcut icon” href=”/path/to/favicon.ico” type=”image/x-icon” />
Replace “/path/to/favicon.ico” with the actual path to your favicon image on your server. - Save and exit the vi editor: Press the Esc key to exit insert mode. Then, type :wq and press Enter to save the changes and exit the vi editor.
- Clear your cache: After you have added your favicon, clear your browser cache to see the updated favicon on your site.
That’s it! Your WordPress site should now have a custom favicon.