Here’s a detailed guide on manually adding a favicon to your WordPress website
- Create your favicon image: Your favicon should be a small, square image in either .ico, .png, or .gif format. You can use a graphic design tool or an online favicon generator to create your favicon image.
- Save the favicon image: Once you have created your favicon image, save it to your computer.
- Upload the favicon to your website: Connect to your website using FTP or your hosting provider’s file manager and upload the favicon image to the root directory of your website. Alternatively, you can upload the favicon image to a specific directory, such as wp-content/themes/your-theme.
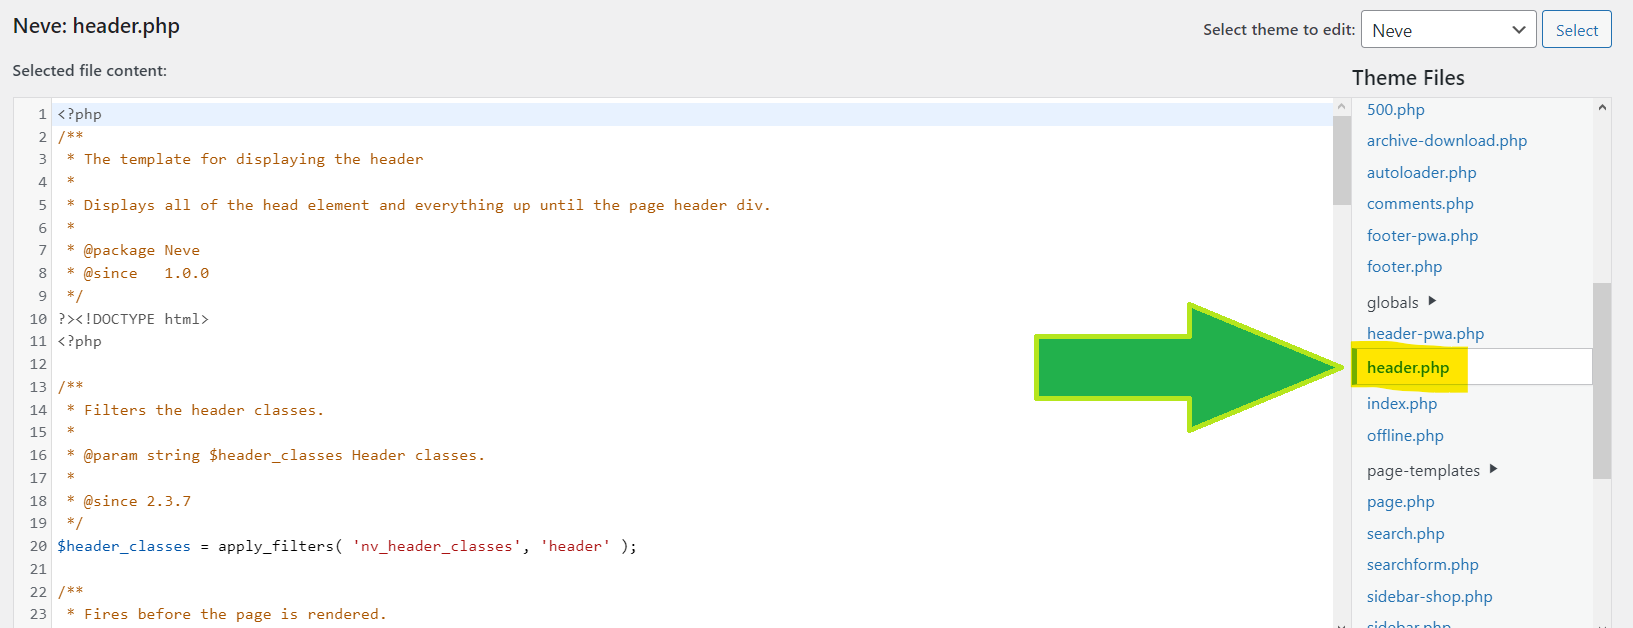
- Go to the “Appearance” section of your WordPress dashboard and click “Theme File Editor”.

- Select the “header.php” file from the list of template files on the right.
- Locate the tag and add the following code between the and tags: Replace “PATH/TO/YOUR/FAVICON.ICO” with the actual path to your favicon image on your server.
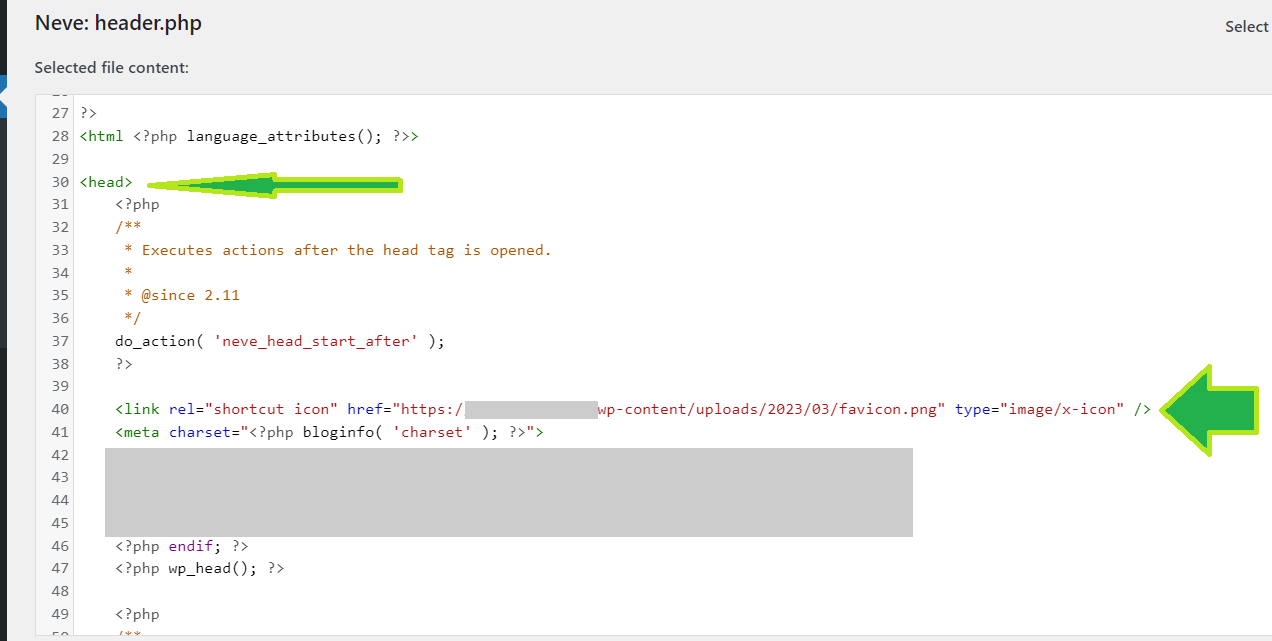
- Click “Update File” to save the changes.After adding a favicon to your site, don’t forget to clear your browser cache to see the updated favicon.
- If this not work you can directly add the link to header.php file from the server (For this you need a little knowledge on servers, ssh, and vi editor). Visit this link for more details How to add the favicon link code to the WordPress header.php file from the server.
